


Proper nail care is an essential part of keeping your dog healthy and comfortable. Overgrown nails can lead to pain, difficulty walking, and even long-term joint issues. While the task may seem intimidating, with the right tools, techniques, and patience, you can confidently trim your dog’s nails at home.
This guide walks you through the process step by step, ensuring a safe and stress-free experience for both you and your furry friend.
Why Nail Trimming is Important
Regular nail trimming is crucial for your dog’s health and well-being. Overgrown nails can:
- Cause pain: Long nails can curl and grow into the paw pads, leading to painful sores.
- Impact walking: Overgrown nails can affect your dog’s posture and gait, causing discomfort.
- Lead to injuries: Dogs with long nails are at a higher risk of snagging or breaking them, which can result in bleeding and infection.
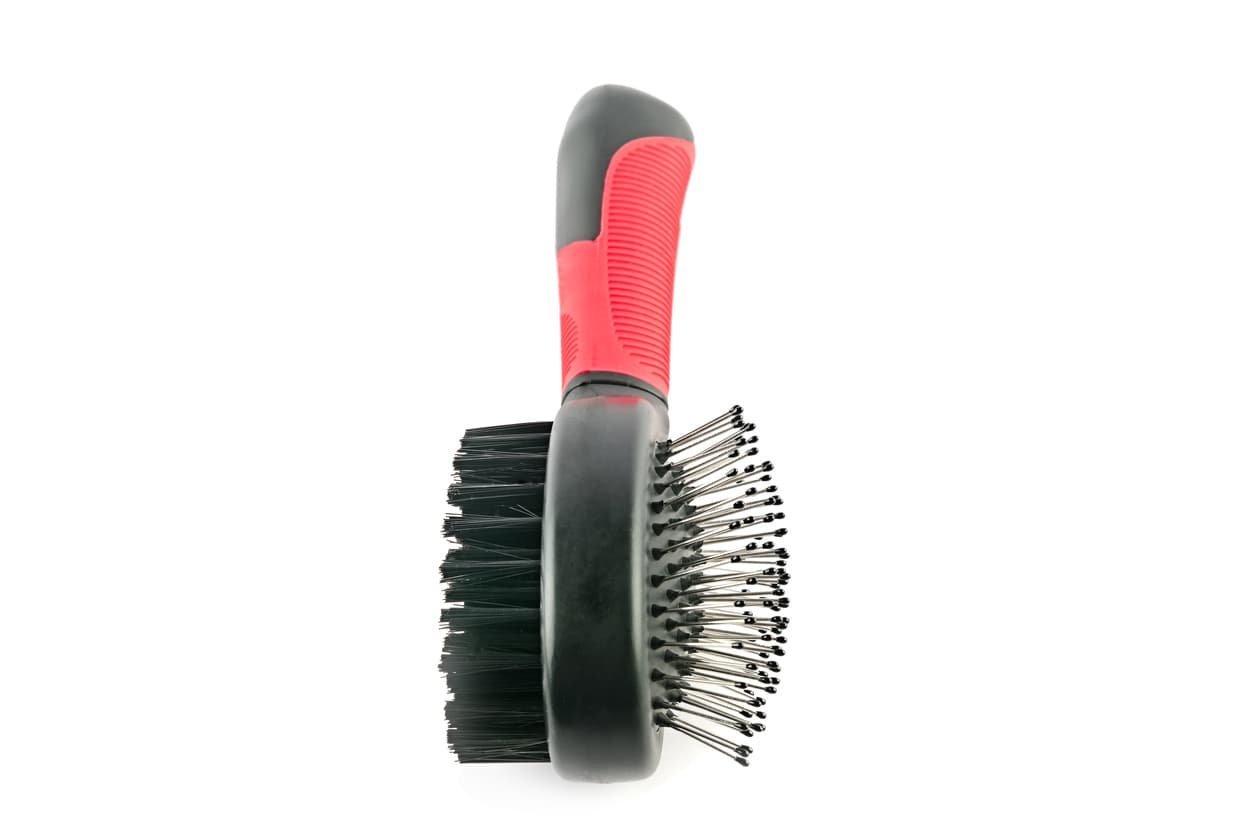
Tools You’ll Need
Before starting, gather the right tools to make the process smoother:
- Dog nail clippers or grinders: Choose between guillotine-style, scissor-style, or a rotary grinder based on your preference and your dog’s size.
- Styptic powder: Essential for stopping bleeding if you accidentally cut the quick.
- Treats: To reward and comfort your dog throughout the process.
- A well-lit area: Proper lighting helps you see the nail clearly.
- A towel or mat: To provide a non-slip surface for your dog.
Step-by-Step Guide to Nail Trimming
Step 1: Get Your Dog Comfortable
- Choose a quiet and calm space where your dog feels secure.
- Allow your dog to sniff and inspect the tools to reduce anxiety.
- Use treats and soothing words to build positive associations with nail trimming.
Step 2: Inspect the Nails
- Look for the quick, the pink area inside the nail that contains blood vessels and nerves. For dogs with dark nails, the quick may not be visible, so proceed cautiously.
- If your dog’s nails are very long, consider trimming a small amount weekly to gradually shorten the quick.
Step 3: Position Your Dog
- For small dogs, hold them securely in your lap.
- For larger dogs, have them lie on their side or stand on a non-slip mat.
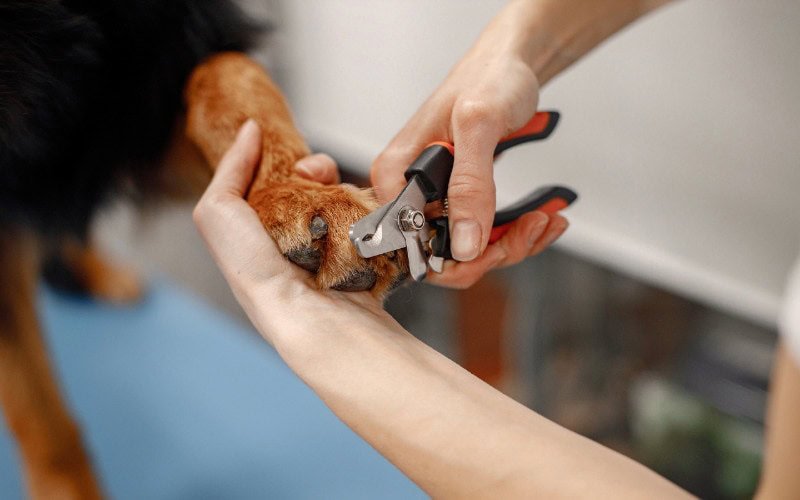
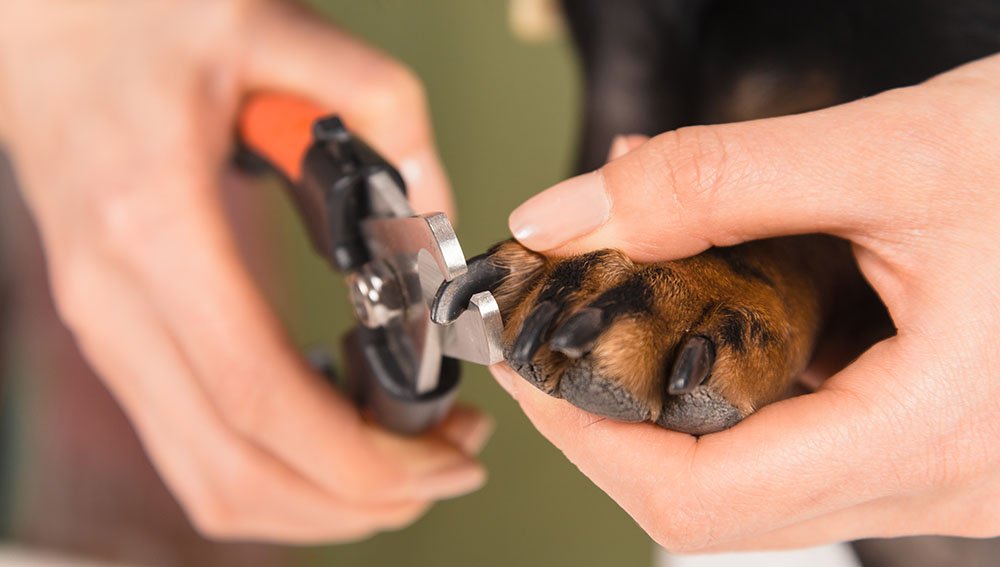
Step 4: Trim the Nails
- Hold the paw gently but firmly, ensuring your dog remains relaxed.
- Position the clippers at a 45-degree angle and cut a small portion of the nail.
- If using a grinder, work in short bursts to avoid overheating the nail.
- Be cautious and trim small sections at a time to avoid cutting into the quick.
Step 5: Address Any Bleeding
- If you accidentally cut the quick, don’t panic. Apply styptic powder to stop the bleeding and comfort your dog.
Step 6: Reward Your Dog
- Praise your dog and offer a treat after each paw to reinforce positive behavior.
Tips for Success
- Start young: Introduce nail trimming to puppies early to build familiarity.
- Work in short sessions: If your dog is anxious, trim one or two nails at a time and take breaks.
- Use positive reinforcement: Treats, toys, and praise can make the process enjoyable for your dog.
- Trim regularly: Frequent trims prevent overgrowth and keep the quick shorter.
When to Seek Professional Help
If your dog is overly anxious or you’re unsure about trimming their nails, consider seeking help from a professional groomer or veterinarian. They can provide tips or handle the trimming for you.
Conclusion
Nail trimming is a vital part of your dog’s grooming routine, ensuring their comfort and overall health. With the right tools, preparation, and patience, you can master this essential skill and keep your furry friend happy and healthy.
Make nail trimming a positive experience, and remember: a little practice goes a long way!